Showing posts with label Miss Sporty. Show all posts

Star Print French Manicure

Hello everyone, I hope you all had a great weekend :)

Here are the nails I was sporting at the Motel and Glossy Box Event (see last post!). It's a "Funky French" Mani, aside from the accent nail, and is inspired by the black and white star-print which is creeping into fashion lately. I started with a base of 3 coats of Miss Sporty French Pink and then taped my nails with Scotch Tape (once the were completely dry) so that just the tips were showing. I then painted over the nail with MUA Shade 2, an opaque black, and lifted the tape off while it was still wet so as to attain neat, crisp lines. Once this, too, was completely dry I re-taped the tips and stamped the Star image from BM14, horizontally across the nail, with Konad White Special Polish. I then went back with single, stamped stars to fill in any big gaps and make the print more complete. Once dry, I added a coat of Seche Vite. For the accent nail, I simply stamped the star image numerous times to create an all over nail design :)

Photography is getting really, really difficult now the days are so much shorter, it has been dark practically all the time, and sunlight is extremely rare! Forgive the darkness of my photos!


Voila! A relatively short post (I'd forgotten how quickly you can write a post when it isn't 11293943 words long!), but it's a pretty simple design that's easy to re-create at home! Even if you don't have the Bundle Monster Image Plates, you could still freehand in the white starts with a Nail Art Pen or even a toothpick :D

Let me know what you think, everyone! xxx

Aloha! Tropical Sunset Manicure!

Y'all know how much I love my tropical manicures. I was stuck for ideas (hence the lack of posts this week), and decided to to a gradient manicure, and see if inspiration struck. Reminded of a tropical sunset, I added some palm trees and fimo cane fruit, and the Totally Tropical manicure 2.0 was born:


I started out with a base of Bloom Flamingo Sands, and used a piece of sponge to apply China Glaze Papaya Punch to about 3/4 of the way down the nail. once this was dry, I then repeated this on the tips using Miss Sporty Taxi. Because yellows are generally sheerer than most other coloured polishes, I sponged the yellow tips twice, for a brighter fade. This Sponging/Gradient technique works best when the colours are close in shade and tone, as it creates a neat, even fade.


I then added the black palm trees and "Aloha" using Konad Plate M29 and Konad Black Special Polish, and used MUA shade 2 to add a little, silouetted desert island at the base of each one. I used Claire's Black Nail Art Pen to freehand in the little birds.


I'm going to take this opportunity to review the Fimo Canes that I was recently sent by BundleMonster (well known for their affordable nail art supplies), because the fruity appliqués you can see on the ring finger came as part of a pack they sent me.


Fimo Cane is rubbish if you get it wrong, and great if you get it right - it can be a bit tricky to master. All Fimo Canes come as little sticks that have a picture all the way through the core (like seaside rock!), and you then slice it very thinly, with a craft knife, to be left with a little Fimo picture that can be stuck onto the nail with clear polish or nail glue.


If they are sliced thinly enough, you can use a couple of coats of Seche Vite and have the Fimo completely flat and smooth to the nail, but some prefer to slice it a bit thicker and simply "perch" them on. I really liked the Bundle Monster Fimo Canes, and are definitely of better quality than the ones I purchased off eBay. I find the designs are generally clearer, nicer and more usable than some of the very odd ones that come in the eBay packs! (evil, teddy bear Frankenstein anyone?...No, didn't think so.) All in all, I got on with these Fimo canes very well, and would definitely recommend them! :)


One of the packs offered by bundlemonster, which you can also buy from Amazon.com


I added slices of the Lemon, Watermelon and Kiwi to my Tropical Design! :)


Thanks guyyys, let me know what you think! I will also be announcing the winner of my Apothica Giftcard giveaway very soon :) Sorry for my absence, I'm back on the ball!


x

Nails Inc Victoria and Bundle Monster Nail Art!

Hi Everyone!

Today I'm showing you one of my favourite Nails Inc London polishes, called Victoria. It is a gorgeous dark, dark, plum red, that deepens with the more layers you paint on. The first coat is almost a bright cerise colour, but by coat three, you've got a really deep sexy red/black - it's how I imagine Vampire Blood would look like, only much more sophisticated and beautiful, OBVIOUSLY.

It looks almost black indoors, but when the sun shines on it you can really see that deep, claret colour coming through. This is sans topcoat as well, it is the glossiest polish ever!:


You know me, I just couldn't leave it alone, could I?! I added some nail art, using Miss Sporty Electric Beige to stamp the swirly image from BundleMonster image plate BM04.


I know it's not quite as interesting today, but sometimes I do like to look sophisticated, as opposed to ridiculous, ya knooooow?! Haha, it's a far cry from banana nails, that's for sure. I'll make up for it tomorrow, you can count on that! 

What do you think to this shade? It was the quickest Mani ever, so great if you're in a hurry to do something smart, but you've not left enough time to get ready - story of my life!
Hope you're all having a lovely Tuesday, stop by tomorrow because I will be having a GIVEAWAY. NOOICE!

In other news, if you all "like" Cadbury Caramel Bunny on Facebook, you might get a nice surprise on Friday! (Hint: IT'S MY FACE. And Manicures!)


Bananarama

Facts about Bananas:
  • In 2001, Britain recorded 300 incidents of injuries related to bananas. The majority of these involved people slipping on banana peels.
  • In Eastern Africa you can buy banana beer. This beer is brewed from bananas.
  • A cluster of bananas is called a hand and consists of 10 to 20 bananas, which are known as fingers.  
These are MY banana fingers, a take on the, ever popular, Wah Nails Prada Banana Manicure:

I'm holding a banana, because there are bananas on my fingers - clever, I'm sure you will agree.


 Yep, my nails have had the chop. I had A LOT of unfortunate breakages, all at the same time, so didn't really have a choice! Thought about getting some Calgels on, but I have absolutely NO dollar at the moment! Full-Nail designs look great on both long ad short, so I'll be sporting them for a while! This is part of the reason for my unplanned absence, as well as trips to London, graduations, moving home and unpacking! 

I started with a base of Barry M Turquoise, my favourite blue evveeerrrrr - it's lovely and bright! I then made yellow crescent moon/banana shapes, using a fine brush, with Miss Sporty Taxi, and added a light yellow highlight using Rimmel's Lemon Drop. After outlining the whole thing using the striper in Claire's Black Nail Art Pen, I topped it off with a coat of Seche Vite

I realise it's not my best freehand work, pretty much if you can tell it's a banana, I'm happy! It didn't take very long at all, and is a really fun, summery look! I'm going to wear something different for my birthday, though, which is tomorrow! WOOPAH!

Hope you like it! Let me know which summer looks you've been wearing!

Snakeskin...

...'cus I'm classy like that. This is deliciously White Trash, I feel like I should be wearing a matching pair of trousers and Crocodile handbag. Mmmmm.

I reckon I'm probably building up to some sort of crazy safari manicure, with the theme of animal prints emerging! I had wanted to try this image from the new BundleMonster set for a while, I was just trying to figure out the colour combos, which I'm not sure I've got spot on! I started with a coat of Barry M Mushroom (I'm not sure if this is because it's quite old now, but this is now a perfect one-coater, though I'm sure it's not always been!). I then sponged on Claire's Jade Green, down either side of each nail. I used Miss Sporty Electric Beige to stamp with:

I remembered after the pictures, that I had used Electric Beige instead of Catrice Be My Millionaire!


I added Claire's Matte Topcoat over the design, and I really prefer it! What do you think? I love the feel of mattified nails as well, they're all smooth and velvety, I keep rubbing them on my face - weird? Yes.


Wooo hoo, snakey fingers, I'm off to explore the Jungle (and by Jungle, I mean Pub).

In keeping with the wildlife theme, I entered the Tiger Nail Art into Swaafie Blog's Inspired competition, and voting is now open! If you love me, you can head over and give me a vote! My design is number 3, and you've got until the 8th! There are so many amazing designs, and you can vote for your favourite three, so GO MENTAL! I would really appreciate you taking a look :D:D

"Check out Swaafie's contest, it's GGRRRRRRREAT!"  (I'm a loser) click here to see the original post


I hope you're all having a wonderful Monday!

Tiger Nails - Tutorial!

Well, my exams are finally over! Wooooohooooo!!!! Back to regular posts! I promised I'd be back on form with the nail art, with a bang, so today I've got a tutorial for you, for FIERCE tiger nails!


This looks complicated, but its really very easy when you break it down into steps! For the base of the tiger print design, I used the sponging technique to make a colour gradient. The only piece of equipment you will need for this, is a piece of sponge, I use the corner of a kitchen scrubber:


Select 3 polishes in "tiger" colours -  I am using Nails Inc Candy Orange , Essence Show Your Feet in Juicy Orange, and Miss Sporty Taxi:


I started with the middle shade, Candy Orange, and sponged on the darker shade, Juicy Orange, onto differing areas of the nail. It works best if you dab a small amount of polish onto the sponge, and lightly build up the sponged area, adding a little bit at a time. I then did the same with the yellow, Taxi, and these are the results:


After cleaning up the cuticles with a cotton bud and nail polish remover:

Next comes the stripes, I did two sets of stripes in black and gold, but you could just do the black if you wanted. I used Claire's Nail Art Pens in Black and Gold (the striping brushes inside), but you could easily use a striping brush or regular brush and polish if you don't have pens:


get a small bead of polish on the end of the brush, and starting at the nail edge, draw horizontal stripes that don't touch, but interlock to make the tiger print, zig zag pattern. It works best if you almost flick the striper towards the centre of the nail, as it makes a neat, tapered point. Start with the Gold stripes.


Once it's dry, you can go back with the Black striper, almost exactly on top of your gold stripes:


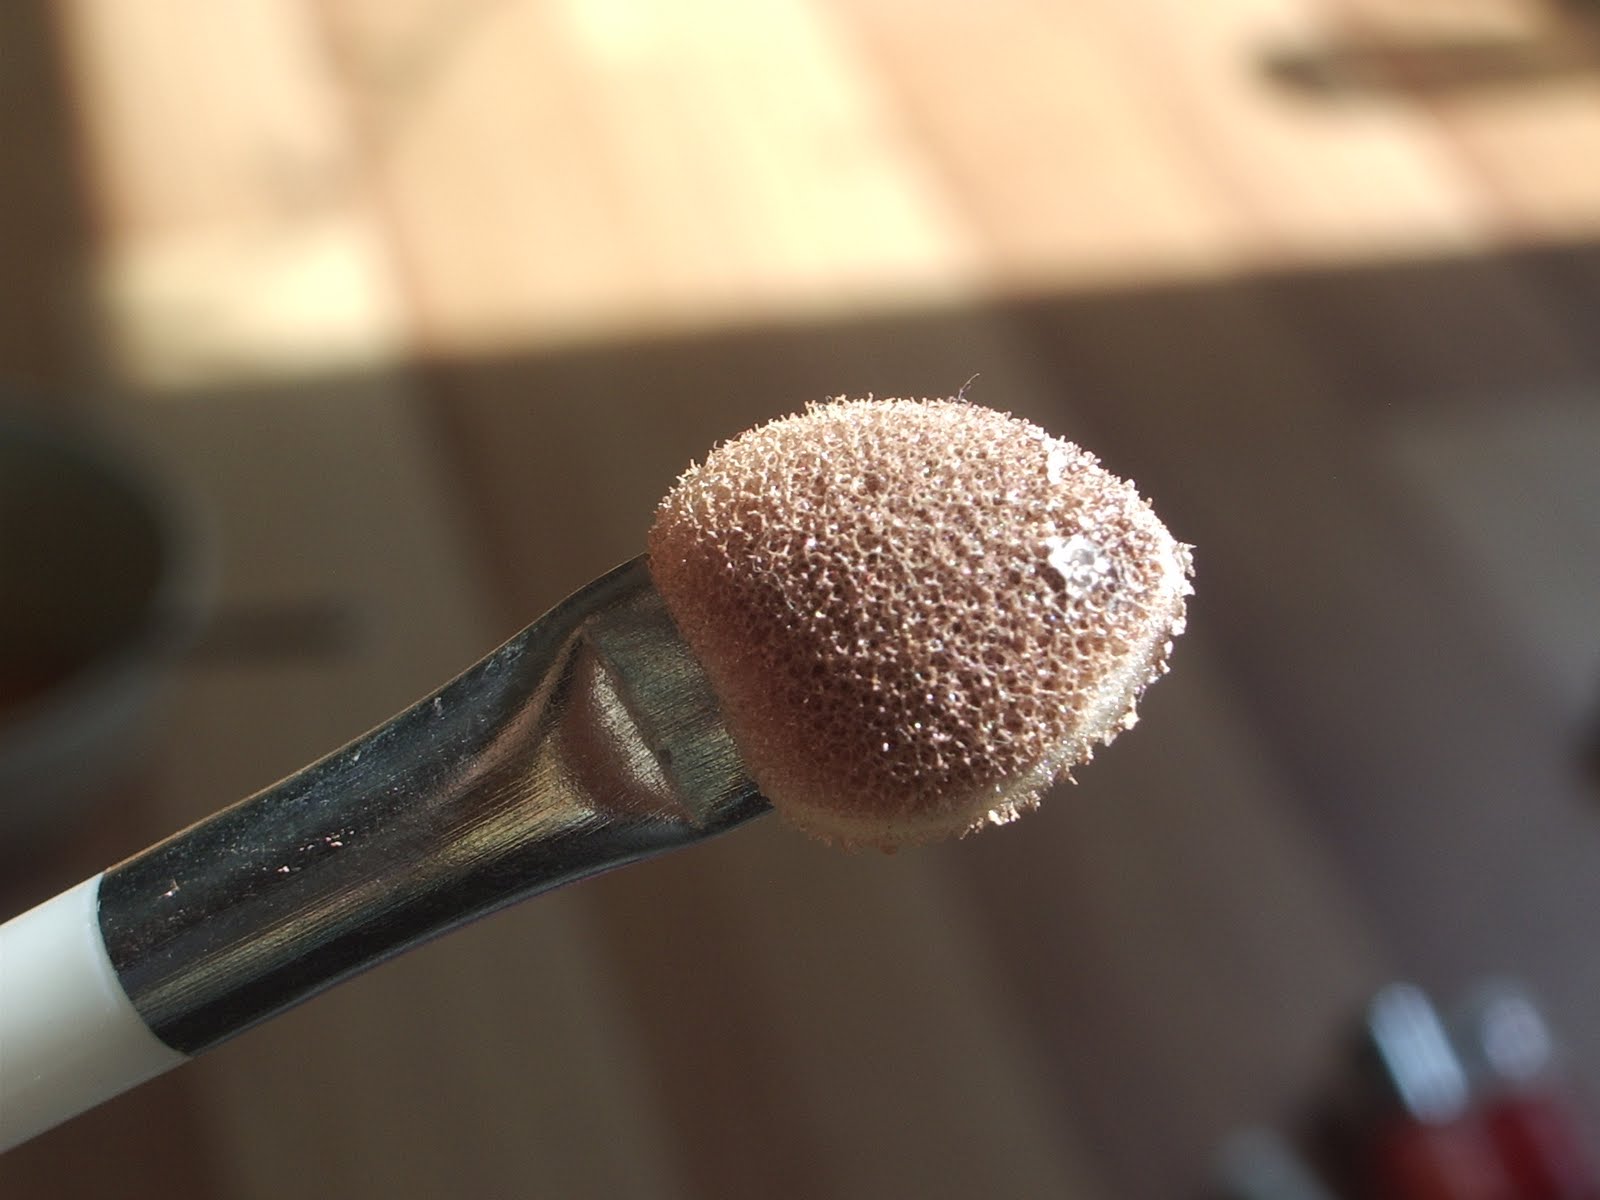
Add a coat of Seche Vite or your favourite topcoat, and you're done! I added the tiger face as an accent on the ring finger. Take an eyeshadow applicator (as the sponge is smaller and denser!) and add a small amount of white polish. Dab on the orange base like so:


Next, take a green, pink, grey and brown polish . with a dotting tool or brush, add two green dots to the bottom of your white sponged eye areas, and with the pink polish, draw a 'T' shape towards the nail edge. Contour the tiger's nose with two fine lines in brown polish. I added some grey whiskers with a fine brush.


All that's left to add is the black details, for which I used Claire's Black Nail Art Pen. Add your topcoat. You're all finished! Longest. Tutorial. Ever! Rest your tired eyes.


I hope you like them! Let me know what you think! Will you be trying it?

xxx

*EDIT* Because this post took BLOOMIN' AGES, I completely forgot to mention the reason I did this manicure in the first place! I knew Swaffie Blog was having an "inspired" competition, and I really wanted to enter. I was watching a documentary on endangered species, and decided to let the segment on Bengal Tigers be my inspiration! Here is the link to the competition, you can vote for me if you want my love and affection forever and ever and ever, I would really appreciate it :D:D. I am entry number 3! There are some fantastic entries, and you can vote for your favourite three, which I think is a great way of doing it, giving everyone a fair chance! :D


TAXI!

The name of my favourite yellow polish is Taxi! and it's by Miss Sporty. In keeping with the name, I thought I would add some inspired nail art!


I started with two coats of Miss Sporty Taxi! (which is brilliantly opaque for a yellow polish, if a bit thick and gloopy. This can be fixed with a drop of polish thinner, however), which only cost me £1.99 from Superdrug - nice. I then taped off the tips, painted them white, and removed the tape while they were still wet. Once dry, I re-taped the tips and added the checkered image from BM17 using Konad Black Special Polish. I added a coat of Seche Vite, and was ready to go! I had a bit of shrinkage on the nail, which is hard to tell from the photos, does anyone know why this could be?!

So what to do you think to the cab inspired manicure?! Is it something you would wear?

For those of you inquiring about the Giveaway winner, I am in the process of verifying entries, so please bear with me - when I know, you will know.

I hope everyone is well, and not got the Monday Blues too badly!

Strawberry Picnic Nails

It was another lovely, bright sunny day yesterday, making me wish I was sat on the park having a picnic - this manicure would have to do instead!
ooooh I wish they had all come out as well as the index finger! The other two strawbs are looking a bit squished and deformed....Nails are SO tiny to draw on hahaha!

With Flash - Pesky Orange is very apt for this mani!

I made little picnic rug tips by taping them off and painting them white over a base of a shimmery Claire's polish. I then stamped with Barry M turquoise and MUA shade 16 from BundleMonster BM17. I stamped the shape of the strawberry (not the leaves) with Barry M Red off BM05. I tried stamping the Lemon image but was struggling to pick up a complete image (I think it was the Miss Sporty polish) so just freehanded them in the end, using Barry M Spring Green and Miss Sporty Taxi! I outlined using Claire's Black Nail Art Pen, and topped it off with Barry M 3-in-1 Topcoat.

I got some compliments on this, it was lovely to wear on a hot summery day! I cracked out the Raybans today and it felt sooooo good!

Let me know what you think, kids!

xxx


Spring has Sprung!

I went to the shop and bought myself some daffodils (buying yourself flowers? I don't think I've ever looked so lonely...ha!) and the sun is shining through the window! I've done a celebratory Spring Manicure Inspired by the British countryside - flower boxes in the windows of kitsch little cottages and Apple trees on the meadows! I may also enter this into That's SO Fresh's Spring Mani contest, we'll see if I have the confidence haha!


There's that pesky orange again...

 I used so many polishes for this haha, here goes, pinky to thumb :-
  • Lilac is American Apparel L'Espirit, flower stalks are Clarie's Matte Violet and MUA shade 16
  • Blue Sky is Models Own Blooboo, grass is American Apprarel Office, Pale Sun is Rimmel Lemon Drop, Tree leaves is a blobby mix between Barry M 290 Green and Claire's Jade Green. tree trunk is Barry M Mushroom, and the Apples are Barry M Red 292.
  • Pale yellow is Rimmel Lemon Drop, flower stalks are Miss Sporty Taxi! and Bloom Goldie
  • Mint green is American Apparel Office, flower stalks are Barry M Green 290 and Claire's Jade Green
  • Baby doll pink is American Apparely Coney Island, the flower stalks are MUA shade 3 and Bloom Flamingo Sands.
  • All the little daisies were created using Claire's Nail Art Pen in White (thought you could just as easily use a dotting tool, cocktail stick, or even a straightened out bobby pin) and the centre of the daisies is Miss Sporty Taxi!.
PHEW!!!
I don't yet have any brushes or tools, so I used a bobby pin and cocktail stick to draw the details on the ring finger and daisy stalks, as well as the White Nail Art Pen for the picket fence! The contrast between the green grass and blue sky is more pronounced IRL, I wonder why it didn't translate in the photo hhhmm.
I also totally forgot it was St Patrick's Day today (dickhead) and thought it was tomorrow, so I will post pics up tomorrow! I'll give you a hint......Guinness. Haha! Happy Birthday to my Nanny too, sharing a birthday with a Saint's day is pretty apt fort his Wonderful Lady.

I hope you will all do the Irish proud and drink copious amounts of beer - We Brits know how to celebrate.

xxx
Related Posts Plugin for WordPress, Blogger...